
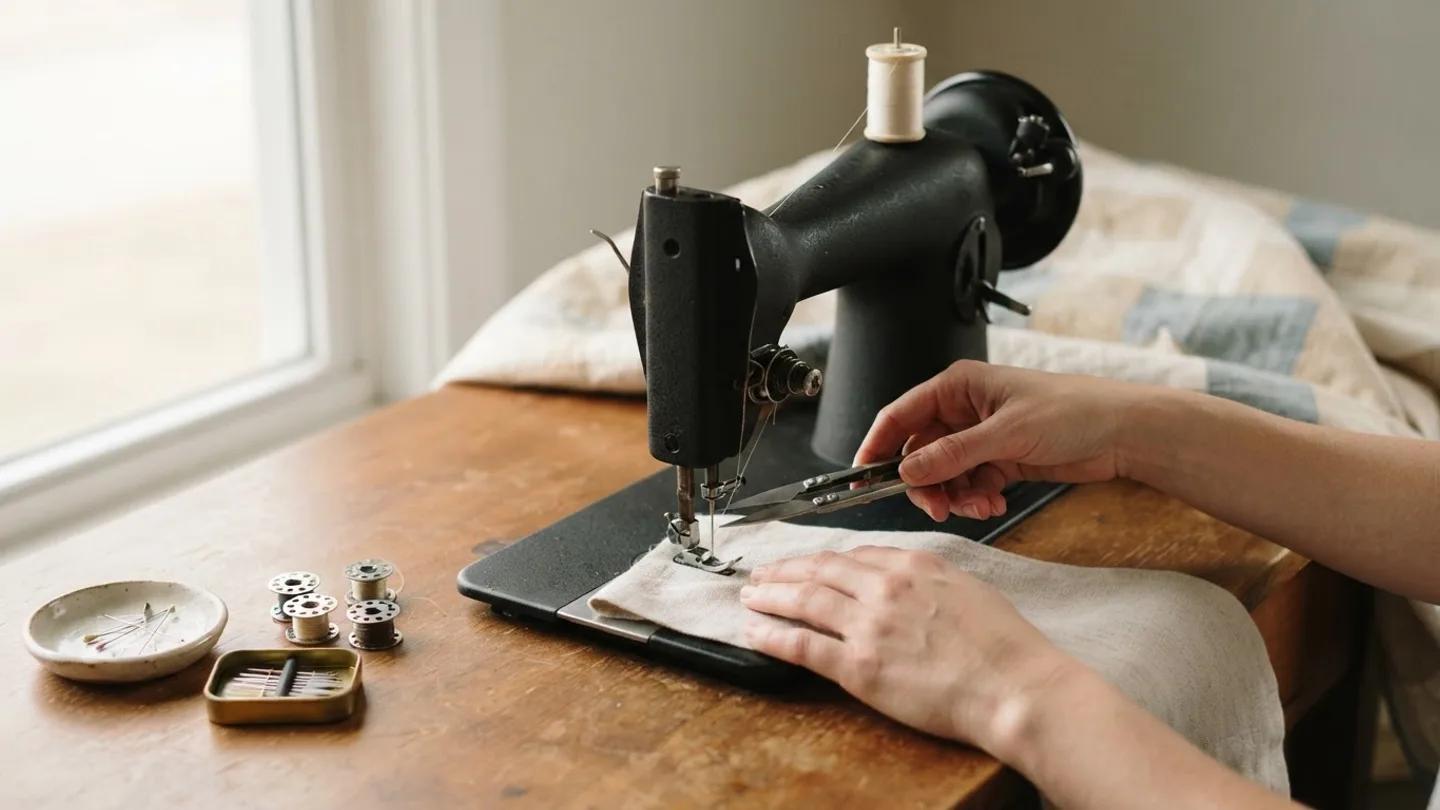
Sewing Machine Troubleshooting: Fix Any Problem by Symptom
You are trying to sew, and the machine is giving you loops on the underside, a pop or clunk, thread shredding at the needle, or a pile of tangled thread under the fabric. That looks bad, but it is not usually a dead machine. Most of these problems come from the top thread path, a dull needle, or a bobbin that is not seated correctly.
This page is the starting point for sewing machine troubleshooting for home machines. It follows the order a repair tech checks a machine: rethread, fresh needle, correct bobbin, then tension. That keeps you from chasing the wrong cause when the fix is often 10 minutes of careful work.
If your machine is a budget model, an inherited Singer, or an embroidery machine, read the checks in this order first. If timing is off, the hook is damaged, or a computerized stitch system fails after basic checks, stop and use a professional repair service.
In this guide
Key takeaways
- Most home sewing machine problems are threading, needle, bobbin, or simple tension issues, not broken machines.
- Work in tech order: rethread, replace the needle, check bobbin direction and seating, then adjust tension.
- Loops on the underside often mean the top thread is not seated correctly or the presser foot was down during threading.
- Skipped stitches often trace to needle size, needle type, thread, or needle condition before tension.
- Stop if you suspect hook timing, a damaged needle plate, or a machine error that returns after a clean thread path.
What usually causes sewing machine problems
When you hear a clunk or see thread bunched under the fabric, the instinct is to turn the tension dial. That is not where a tech starts. The thread must move through a clear path under tension, and that path can be interrupted by a thread caught on a spool, a needle hitting the plate, or lint under the bobbin case.
A reliable way to work through sewing machine troubleshooting is to move in a fixed order. Start with the thread path, then the needle, then the bobbin, then the tension. If you need guides sorted by brand and model, begin at the home page.
Keep each change isolated. Change one thing at a time, then sew a few stitches on scrap fabric. You should see a neat line on the top and a light thread line on the underside. If you see the same symptom after each step, the next step will usually explain it.
The tech check order
Rethread with the presser foot up
Raise the presser foot, the foot that normally holds the fabric, before threading. Take the top thread out and pass it again through every guide. The thread should seat in the tension discs when the foot is up. Move the needle to its highest position, then pass the thread through the take-up lever, the metal arm that moves up and down above the needle. Pull the thread toward the back. You should feel the thread move freely before you add a bobbin.
Put in a fresh needle
Use the correct needle size and type. For a general light to medium woven fabric, a universal needle in 80/12 is a safe start. For denim or canvas, try 90/14 or 100/16. If the needle is bent, blunt, or older than 8 to 10 hours of sewing, replace it. You should hear the needle seat fully in the clamp and not catch when it enters the fabric.
Check the bobbin
Use the bobbin shape your machine was built for. For many drop-in bobbins, place the bobbin so the thread comes off in the direction marked by the arrow. Thread it through the bobbin case slot and pull the tail toward the back. You should see the bobbin drop in without wobbling, and the thread should come out smoothly when you pull it.
Adjust tension only after the first three steps
Set the upper tension dial near 4, then sew a test line on scrap fabric. Keep the stitch length around 2.5 mm unless your fabric calls for something else. If the top thread pulls too hard and the bobbin thread shows a thin line on top, reduce top tension slightly. If loops appear on the underside, do not increase tension first. Rethread and check the top path.
Clean and clear the bobbin area
Remove the bobbin, and brush out lint from around the feed dogs, the little teeth under the fabric, and the bobbin case. Do not blow with your mouth, because lint and moisture can pack the area. Reassemble, then turn the hand wheel toward you. You should feel even resistance and hear no grinding or scraping.
| Symptom | Likely cause | First check | Repair shop signal |
|---|---|---|---|
| Thread bunching under the fabric | Top thread not seated in tension discs | Rethread with presser foot up and check the take-up lever | If the bird's nest returns after clean threading |
| Loops on top | Bobbin not seated or bobbin case thread path | Reseat the bobbin and pull the tail toward the back | If the bobbin case spring is damaged |
| Needle hits metal plate | Bent needle, wrong needle plate, or wrong needle size | Install a fresh needle and check the needle hole | If the plate is cracked or timing is off |
| Clunk on every stitch | Needle striking the hook, heavy seam, or misaligned bobbin case | New needle, slower sewing, check bobbin seating | If timing or needle bar movement is suspect |
| Skipped stitches | Needle blunt, wrong size, needle not fully seated, or thread catching | Replace needle and check type for fabric | If hook timing remains wrong after checks |
| Thread shredding at needle | Rough thread path, dull needle, or wrong needle size | Rethread, replace needle, and test with good thread | If hook or thread path has a burr |
| Machine jams and will not turn | Thread wrapped in bobbin area, needle stuck, or foreign object | Power off, remove bobbin, cut thread, and turn wheel | If parts are bent or the wheel stays locked |
| Bobbin thread does not show | Bobbin tail not pulled through or bobbin seated wrong | Reseat bobbin and bring thread tail up | If hook timing may be off |
| Stitches loose at tension 4 | Lint, wrong thread, needle not right, or tension discs weak | Clean area, new needle, and rethread | If tension discs need service |
| Fabric does not move | Feed dogs lowered or presser foot not down for sewing | Check feed dogs and presser foot position | If feed dogs are broken or stuck |
| Noise after oiling | Too much oil or lint packed in the bobbin area | Wipe excess oil and brush out lint | If metal noise continues |
| Machine stops with error | Tangled bobbin, obstructed path, or sensor problem | Remove bobbin, clear thread, and restart | If error returns after a clean test |
| Needle breaks | Needle too thin, wrong type, or forcing fabric | Use correct denim or universal needle and slow down | If needle bar may be bent |
| Embroidery puckers or jumps | Stabilizer, hooping, thread, or file settings | Check stabilizer, hoop tension, and needle | If file format or sensor problem repeats |
Finding the fix for your exact machine
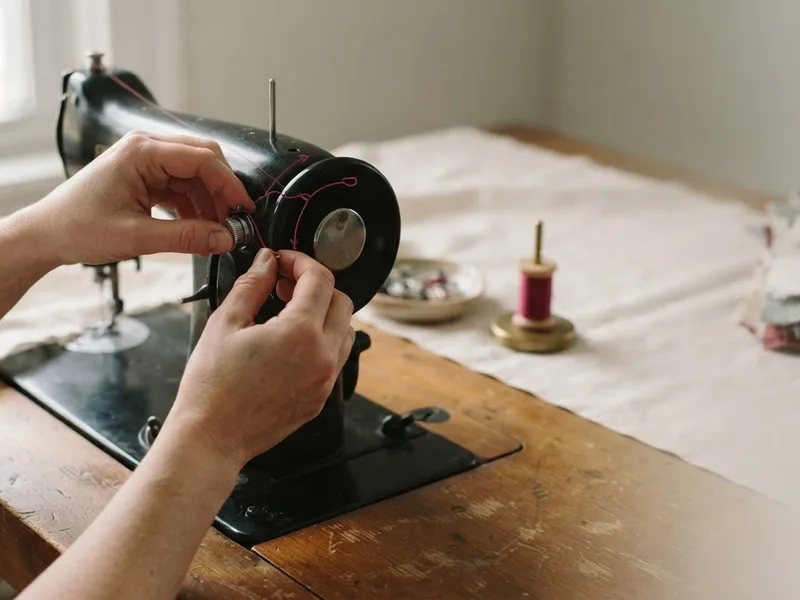
Sewing machine troubleshooting gets easier when you match the fix to the machine. A Brother drop-in bobbin and a Singer front loading bobbin are often not interchangeable. A mechanical Singer may respond to cleaning and needle changes, while a computerized embroidery machine can stop on a hoop, sensor, or file issue.
Use your exact brand and model when searching. Write the model number on a sticky note, then look for that machine and symptom. If you cannot find your model, use the contact page and include the brand, model, bobbin type, needle plate style, and a photo of the symptom. A clear model number saves time and keeps the advice from being too generic.
For vintage Singer owners, the serial number can help date a machine, but it should not be treated as a promise of high collector value. Many old machines are simple to service if the parts are correct. If you find a worn bobbin case, a bent needle bar, or timing that does not follow after basic checks, a repair shop is safer than guessing.
Common questions
Why does thread bunch underneath?
Most often, the top thread was not seated while the presser foot was raised. It may also be a bent needle, a rough thread path, or lint under the bobbin. Rethread, change the needle, reseat the bobbin, then test.
What size needle for denim?
Use a denim or jeans needle in 90/14 for lighter denim, and 100/16 for heavier denim. If stitches skip or the needle flexes badly, move up one size and slow down.
What tension should I start with?
For balanced plain weave fabric, start at the middle of the dial, often 4 on many home machines. Test with a 2.5 mm stitch. If loops appear on the underside, recheck the top path before changing tension.
How often should I change my needle?
A good working rule is every 8 to 10 hours of sewing, and sooner with heavy fabrics or when you hear a pop or see skipped stitches.
Can I fix timing myself?
Usually not. If the needle and hook do not meet at the correct position, a repair shop should set timing. Basic rethreading, cleaning, and a fresh needle can sometimes mimic timing trouble, but do not bend or hammer parts.
What file formats do embroidery machines use?
Common home embroidery formats include PES, DST, JEF, EXP, and VP3. If the machine will not stitch an embroidery file, check the file name, card format, hoop size, and stabilizer before adjusting tension.
Repair shop signals for home sewists
Some problems are worth a trip to a shop because forcing them can turn a simple repair into a broken part. If the hand wheel is hard to turn and you cannot find thread wrapped around the hook area, stop. If you hear metal scraping from inside the machine, or the needle moves when it should be locked, stop. If the machine gives an error code after the bobbin is clear and the thread path is clean, stop.
Use a shop when the bobbin case spring is damaged, the hook is burred, the feed dogs are cracked, or a computerized board or sensor fails. For older Singer machines, also stop when the needle bar is loose, the timing does not line up after cleaning, or the machine needs new parts. A clear photo of the bobbin area can help you describe the problem to a service shop.
If your sewing is urgent, a repair shop may be the right call before a big quilting project or Etsy deadline. You can keep the basic checks here for common threading issues, then use blog for more troubleshooting guides.
Voordelen
- Rethread the top path with the presser foot raised.
- Replace the needle with the correct size and type.
- Reseat the bobbin and use the right bobbin shape.
- Remove lint from the feed dogs and bobbin area.
- Test with scrap fabric and start tension near 4.
- Wipe excess oil after using only a small amount.
- Note the exact brand and model before searching for guides.
Nadelen
- Forcing a locked hand wheel.
- Bending or hammering the hook area.
- Adjusting timing by guesswork.
- Running a machine with metal scraping sounds.
- Reusing a damaged bobbin case spring.
- Ignoring repeated computer error codes.
- Pushing a thick seam without a walking foot or service check.